A Year in the Life
of a Czech Plush Monkey. |
Week 48: 12 - 18 Dec. 2004 |
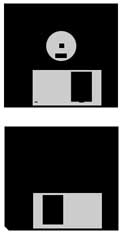
Floppy bottom Floppy top |
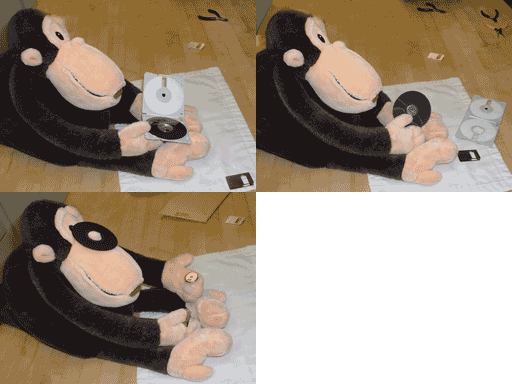
Sunday, 12th Carefully remove the sliding door from the floppy box. It's not hard. Gently pry the door away from the plastic case on both sides at the same time. Push it downward and it will slip out of its guides and off of the case. Try not to bend it wider than necessary. Next use a flat head screwdriver to pry the case open where the door came off. Lastly pull the metal spindle out of the floppy's disk center. Keep the door and spindle. These are the parts you need. |
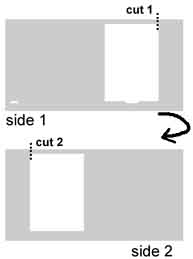
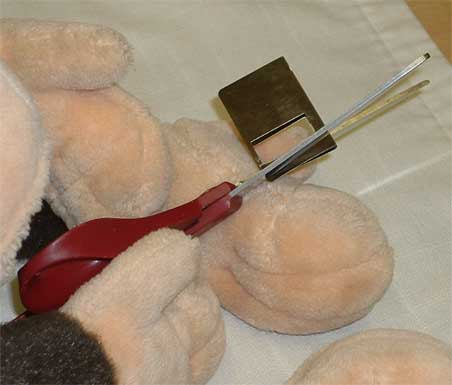
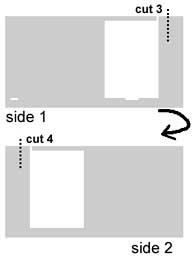
Monday, 13th Step 2 The first cuts Cut the floppy's door flush along the edge (both sides) as shown above. Kitchen (poultry) shears or wire cutters cut the metal best. NOTE: every step in this project is symmetric. That means each action is mirrored on both sides of the part involved. |
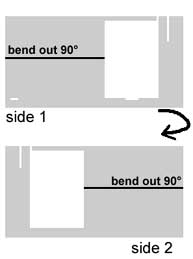
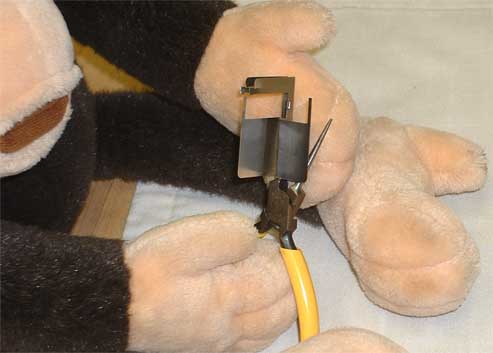
Wednesday, 15th Fold outward the door's top portions, bending
about midway or lower as shown left. The folded portion will become the star ship's warp nacelles. Monkey demonstrates below if you roll over his foto. |
|
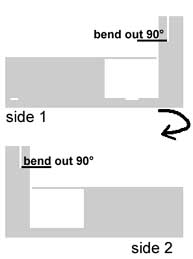
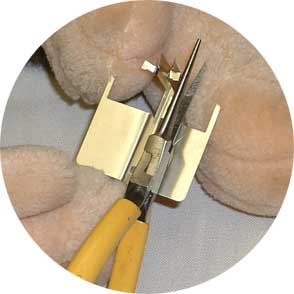
Thursday, 16th This step's so simple, Monkey said, "Let's do a 2-step!" 5A) Bend the narrowest flaps outward. |
||
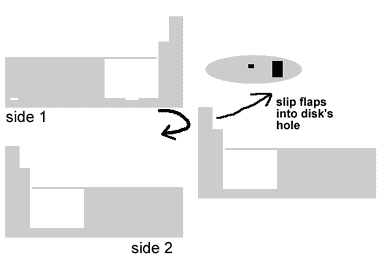
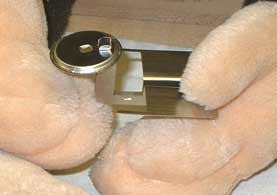
5B) Simple-spindle: thread the remaining upright flaps thru the spindle's large hole to attach the Enterprise's command saucer. (Did you know in the original Trek series the saucer was meant to be detachable?) |
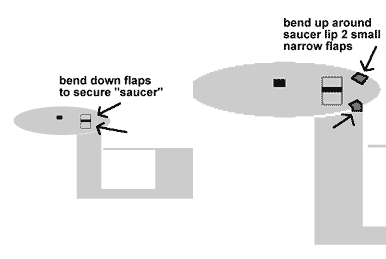
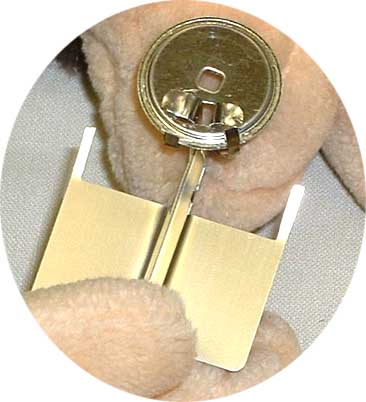
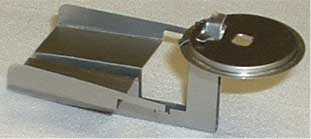
Friday, 17th Step 6 Secure the saucer Bend the large flaps outward atop the spindle. Bend the 2 narrow flaps up around spindle's edge from underneath to finish securing the saucer. |
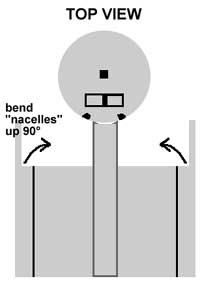
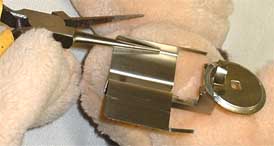
Saturday, 18th Step 7 Bend up the warp engine nacelles. "Scotty, I need more power!" Opice commands from the captain's chair. "Warp factor 9, Mr. Sulu! Get us out of here!" (Click to help sulu.) |
|